소셜 로그인
https://django-allauth.readthedocs.io/en/latest/installation.html\
Installation — django-allauth 0.43.0 documentation
Post-Installation In your Django root execute the command below to create your database tables: Now start your server, visit your admin pages (e.g. http://localhost:8000/admin/) and follow these steps: Add a Site for your domain, matching settings.SITE_ID
django-allauth.readthedocs.io
pip3 install django-allauth
settings.py
INSTALLED_APPS = [
    ...
    # The following apps are required:
    'django.contrib.auth',
    'django.contrib.messages',
    'django.contrib.sites',

    'allauth',
    'allauth.account',
    'allauth.socialaccount',
    'allauth.socialaccount.providers.google',
]

SITE_ID = 1

AUTHENTICATION_BACKENDS = [
    # Needed to login by username in Django admin, regardless of `allauth`
    'django.contrib.auth.backends.ModelBackend',

    # `allauth` specific authentication methods, such as login by e-mail
    'allauth.account.auth_backends.AuthenticationBackend',
]

LOGIN_REDIRECT_URL = '/'
urls.py
path('accounts/', include('allauth.urls')),
admin 사이트에는 다음과 같이 등록됨

사이트 누르고 다음과 같이 등록

소셜 어플리케이션
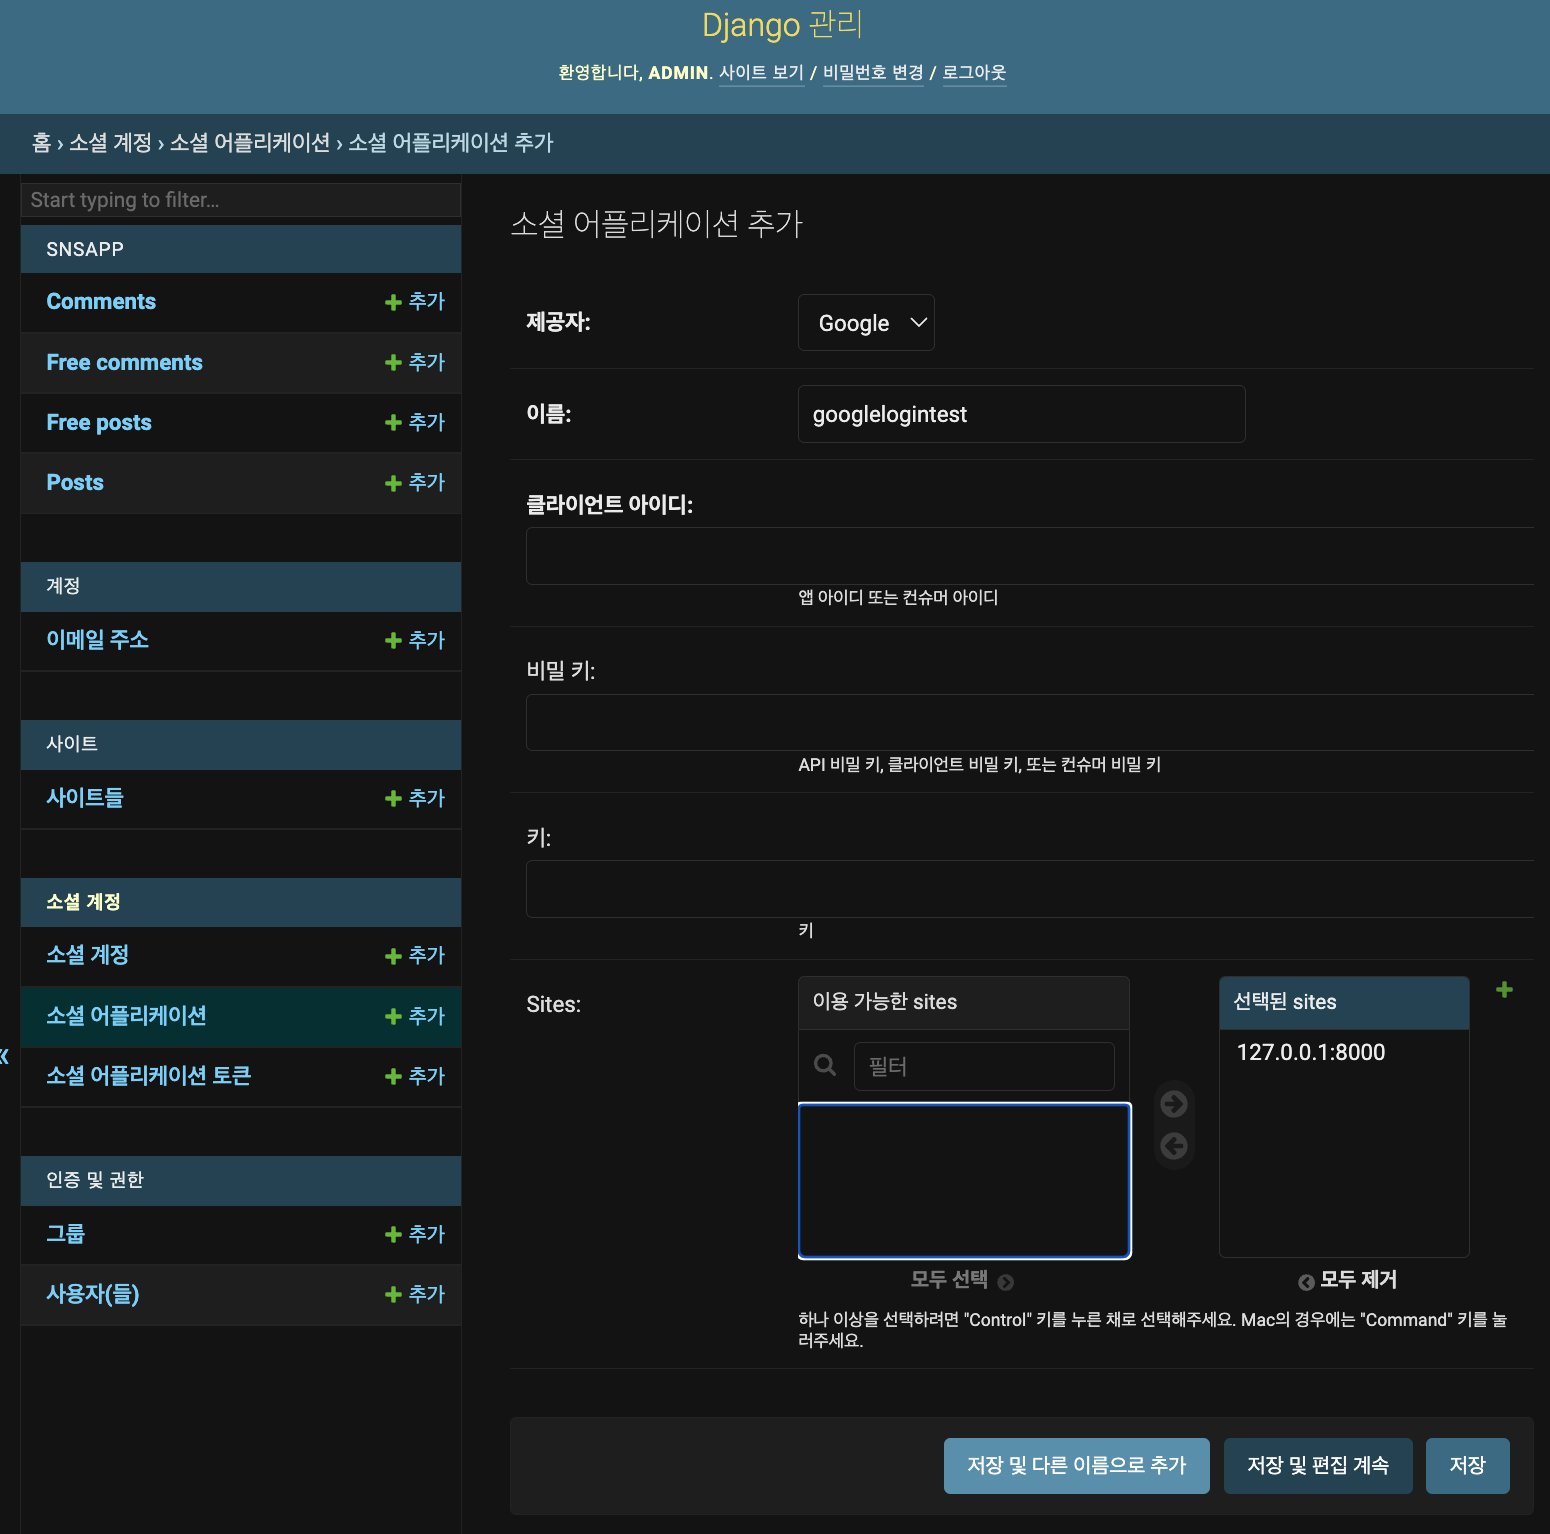
클라이언트 아이디와 비밀키는 아래 사이트에서 발급받는다.
https://console.cloud.google.com/
Google 클라우드 플랫폼
로그인 Google 클라우드 플랫폼으로 이동
accounts.google.com
구글 클라우드 플랫폼 → API 및 서비스 → 프로젝트 만들기 → 사용자 인증 정보 → 사용자 인증 정보 만들기 → OAuth 클라이언트 ID → 동의 화면 → 외부 체크 → 등록 진행(url은 http://127.0.0.1:8000) 후 대시보드로 →
사용자 인증 정보 → 사용자 인증 정보 만들기 → OAuth 클라이언트 ID → 애플리케이션 유형 : 웹 어플리케이션 → 승인된 자바스크립트 원본 URI 추가 : http://127.0.0.1:8000 → 승인된 리디렉션 URI : django allauth 링크에서 provider - google에 콜백 url 주입 → 만들기 → 화면에 클라이언트 아이디와 비밀번호 제공됨

여기까지 하면 localhost:8000/accounts/login 에서 구글 로그인이 가능하다.
이제 로그인 화면까지 구성하기
login.html
{% load socialaccount %}

...


<a href="{% provider_login_url 'google' %}" class="btn btn-google btn-user btn-block">
  <i class="fab fa-google fa-fw"></i>
  구글 계정으로 로그인
</a>